Types of boxes in the bathroom made of plasterboard. Overview of typical solutions
A plumbing box (in other cases it is called a plumbing cabinet) is used in most panel and brick series modern houses(since the 70s).
He is also always present in monolithic houses, however, in fact, in most cases it is not there and the owner is invited to build it according to the "bricks" laid out on the floor of the room.
It is a fencing structure (with access hatch) of hot and cold water supply risers, as well as a sewer riser.


The main information that the customer should have about the plumbing box device is the understanding that the area inside the box refers to the common area of the house and is not included in the area of the apartment.
Based on this, the only thing that is possible during the repair is to remove the old plumbing box and build a new one along its border. modern materials with the obligatory installation of a hatch in it for access to utilities.


Materials used:
- Moisture-resistant plasterboard with ceramic tiles;
- Thin tongue-and-groove blocks;
Redevelopment measures for the plumbing box:
- Dismantling the plumbing box (building a new one), followed by an increase in its original dimensions.
Application:
In addition to its direct purpose (fencing of water supply risers), a plumbing box is often used as a structure for embedding a toilet bowl installation.
Also, an enlarged sanitary cabinet can be used to place an electric boiler in it. for the purpose of heating water for the period of summer shutdown of hot water supply.
What are access hatches and why are they needed:
Access hatches in the plumbing box come in a variety of shapes.
The main thing is that the hatch must have sufficient dimensions to inspect the condition of risers, taps and water meters, as well as to carry out maintenance risers of engineering communications. Above we gave a link to an article about access hatches.
Touching the plumbing box entails work on a new waterproofing of the bathroom floor. Since the plumbing box, as well as on the walls in the bathroom, must be waterproofed, which is necessary as a protection against possible leaks between floors. It is installed on the plumbing box, as well as on the walls in the bathroom to a height of 15-20 cm.


In new monolithic houses, the developer shifts the work on the arrangement of the plumbing box to the owner (but at the same time does not forget to mark them with a dotted line on the BTI plan as completed). As a result, future owners will have to build a plumbing box in the dimensions indicated on the floor plan with the installation of an access hatch. And if this box is not "physically" when the apartment is commissioned, this does not mean that it can not be built, or built in smaller dimensions, it just means that the developer saved on materials and provided this "honorable" duty to the owner himself
In the end, we will answer the main question that worries the owners:
Are there any cases in which the plumbing box can be partially dismantled.
- There is.
But this is difficult enough. As we already mentioned, the plumbing box refers to the common building area, which can be affected when technical capability subject to the consent of 2/3 of the residents of the house.
This means that if you have a large plumbing box, and engineering communications are "huddled" somewhere in the corner, then theoretically it can be reduced in size. "Only" it is necessary to collect the signatures of 2/3 of the residents of the house that they are not against this event, to back it up with a seal management company and submit the protocol along with the project documentation for consideration to the housing inspectorate.
Under this condition, she will agree to dismantle the partial dismantling of the plumbing box. Of course, the path is clear and seemingly simple in words, but in practice, not that it is difficult to get the consent of 2/3 of the house owners, it is difficult to find them "in principle", which leads to the fact that very few dared to start this path.
From practice: One of our cases of dismantling a plumbing box.
Initial data - new building, monolith, apartment on the middle floor. The customer has a plumbing box on the BTI floor plan, and in a strange place, and what is the strangest shown then it is shown but in it NO engineering communications.
It's just that there is a square on the BTI plan, which appeared not clearly why, in an illogical place, and it must be fenced off with a square just in fact so that this area does not enter the area of the apartment (after all, this is a common building area).
The customer, of course, really did not want to do this - after all, in his new monolith, the design solution was so well thought out, and this square does not fit into it at all, it was not taken into account, and we understood very well that it was really out of place there.
We started an "investigation". It turned out that the new building consists of 8 identical sections. And in one of the sections (not this one), the developer has provided for another riser of communications in this very place. When the BTI measured the area at the end, it was too lazy to measure only one of the sections (namely, the section with the box) and "and applied-projected" this plan to other sections, without even going in or measuring them (it looks like the house is the same). (But this was said later and in a whisper).
Officially, they categorically refused to admit this mistake. As a result, the other seven sections ended up in potential "violators", because none of the owners was eager to highlight, for some unknown reason, in an incomprehensible place, "out of sight" square meter apartments.
Of course, it was possible to "fight" to raise the developer's archives, drive, prove, but it took a month or two or three, without permission, repairs could not be started, and the owner was already living in his thoughts in a renovated apartment, and the mortgage was "dripping" and it seemed to us an easier way work with the management company. Moreover, she turned out to be surprisingly sane and understood the absurdity of the situation.
The engineer of the management company phoned the owners, they came and each owner allowed all the other owners to dismantle the box. This paper remained in the management company for issuing copies to the rest, and we handed over ours to the housing inspectorate along with a set of project documentation and received permission for redevelopment.
A typical example of how owners affect plumbing boxes:
Below we show an example of touching a plumbing box from a recent customer:
At the beginning, we did not have clear initial data, that is, BTI documents, there was only a photo, but when looking at the apartment after the redevelopment (right photo in the top row), the initial assumption appeared that not everything was "smooth".
A little later, the customer sent us a photo before the repair ( left photo- apartment "in concrete") and documents of the BTI. And after analyzing these documents, everything became immediately clear.
In general, based on 95 percent experience, we already assumed that there would be something like that, but it was not superfluous to confirm.
If we look at the left photo, we will see that the boundaries of the plumbing box are "clearly" laid out with "bricks" on the floor. That is, they are clearly defined and the dimensions of the box cannot be changed.
And as we already know that a plumbing box is just a "cabinet with a door" and it cannot be additionally "tuned".
In this case, the customer:
not only reduced the box in size, we reflected this in the lowest picture with the BTI plan,
and built it into the top of the box open shelves
as well as at the bottom safe between the pipes.


A combined photo, before and after the renovation, in which something is proportionally posted.

Below on the BTI plans, you can see how the box looked before the redevelopment, and how it began to look after the redevelopment.

. On this page, we will analyze step by step how to make a plastic box in a bathroom and a plastic ceiling from panels.
Bathroom in Minusinsk, plastic ceiling and plastic box.
Plastic ceiling I am doing it a little peculiarly, not like in most cases, but it seems to me that this method is easier and faster than the others. The plastic ceiling is made at the end, after the tiles have been glued and embroidered, electricity is supplied for the spotlights (if they are, of course). I have a ceiling without lamps in the photo, the lamps in this bathroom are wall-mounted.
Unlike the ceiling, it is better to make a plastic box before laying the tiles. In my photo, the box was made before laying (meaning from the profiles), and I closed it with plastic after laying the tiles. The box for pipes is made before laying the tiles for the reason that when laying you need to know where to glue the tiles to or where to start (depending on which drawing or design).
Well, before making a box, you need to replace pipes for hot and cold water, bring the heated towel rail, change sewer pipes and make piping from meters to sanitary devices. My photo shows a wiring made of polypropylene. In this case, the wiring is made of polypropylene and sewer drain I did it myself, iron pipes and a towel were made before me.
So, in the photo you can see: two branches (cold and hot) go up from the water meters to the polypropylene taps and from them to the outputs to the water heater. From cold water down there is a faucet to the toilet, then cold and hot water goes to the mixer for the bath, kitchen and tulip. The sewer outlet to the toilet is in the corner, the toilet will stand at an angle of 45 degrees to the wall.

The pipe box is made of a plasterboard profile 27 * 28 and 60 * 27.

We fasten the plastic panel

After the tiles have been glued to the box, we fasten the plastic panel. Our panel is black with flowers; in design it fits very well with decorative inserts. Before screwing it on, a hole was made in it for heated towel rail pipes, water meters, a hole for a cold water tap to the toilet, the ends of the pipes were brought to the water heater, and U-shaped plastic corners were inserted along the edges (the edge of the panel with tiles). When screwing, the U-shaped corners, the edges are bent slightly (carefully so as not to break), the panel is screwed to the profile (metal / metal screw with a press washer) and the edges, releasing, are smoothed by hand. If done correctly, the edges should nowhere move away from the panel.

The plastic corner had to be cut a little
After screwing to the profile, the outer corner of the panels is closed with self-tapping screws. plastic corner, I have it 3 * 3 cm wide. I glue the corner on the glue "liquid nails".

Glue "liquid nails" Moment Installation white under the gun.
I made holes in the plastic for water meters to fit a plumbing hatch of 20 * 30 cm, taking into account that it was easy to crawl through it and turn off the water heater taps. The hole for the toilet tap is made in the size of a plumbing flap 10 * 10.

On the right, the U-shaped corner covers the edge of the plastic, on the left outside corner covers the plastic. The hatch 20 * 30 is installed horizontally.
We make the ceiling.
When edging the ceiling, I use aluminum corners for slatted ceiling white(the full name is "White edging for a slatted ceiling"). They are 3 meters long, width, in my opinion, 2 * 2.5 cm. A bath like mine takes 4 such corners.

The corner is cut to length to fit the wall. On the side that will press against the tile, apply (with blobs) glue "Moment Installation White" and press against the wall, while the glue dries, the corner can be fixed with masking tape.


To ensure that no gaps are visible between the corner and the tile, gently squeeze out the "Moment Installation" glue inside the gap with a pistol, slide your finger over it, removing excess glue, and, if necessary, if the glue is squeezed out onto the panel or corner, wipe it with a damp sponge. So we pass with glue along the entire perimeter of the edging. The glue should be wiped off with a sponge almost immediately, as it dries very quickly.

The edges of the plastic panels will lie on the edging. In order to fix the middle of the panels from sagging, in the center of the ceiling in a perpendicular direction from how they will be laid plastic panels, we fix the profile 60 * 27 to the ceiling. The profile is mounted on 2-3 straight hangers, its edges should fit to the corners of the edging and, if you look from the bottom up, then be higher than the upper edge of the corner of the edging by the thickness of the plastic panel from which the ceiling is made. In the future, the plastic panel will be wound between the edge and the edge of the corner and so fixed, and the middle of the panel will be screwed to the profile with a metal / metal self-tapping screw with a press washer.

It is better to start screwing the plastic panel from the “visible” edge and hijacking to the less “visible” one. Before screwing on the panel, it must be cut on the floor along the right size in such a way that its edges fit freely on the edge of the edging corner, not resting, but also not sliding off them. If the edge of the panel in the corners slightly moves away from the edge of the edge of the edging (a gap is formed), then you can press the panel from above with something, for example, with a piece of tile, (only this must be done immediately, and not after you further insert the following panels, since then you may not be able to get to the corner).
And one more important thing - start to wind the plastic panel against the wall with the groove that is inserted into the next panel, and the edge of the groove into which the next panel is inserted is screwed to the profile (if you do the opposite, you will not succeed, since then you will not be able insert next panel).


Before screwing on the panel, it must be cut on the floor to the required dimensions.

Begin to wind the plastic panel against the wall with the groove that is inserted into the next panel, and the edge of the groove into which the next panel is inserted is screwed to the profile

if viewed from bottom to top, then the profile should be higher than the upper edge of the edging corner by the thickness of the plastic panel

We collect panels, if necessary, we cut holes in them for spotlights
If you have spotlights in the ceiling, then before making the panels, you need to mark the places where they will be, and when assembling the panels in the right place make a hole in the panel to size spotlight and insert it into the panel.
When installing the last (last) panel, it usually has to be cut to the desired width. Its width should be such that when its groove enters the panel, its opposite edge lies on the edging, not resting against it, but also not falling off it.


When all the panels are assembled, so that there are no gaps, I once again pass the edges between the edging and the panels with the "Mounting Moment" glue. With a not very great skill, the ceiling turns out to be even and without any cracks, curvatures and similar disadvantages. When assembling the ceiling in the bathroom, which is shown in the photo, it took me about 2 hours.


Ready-made plastic box in the bathroom
When the bathroom is characterized beautiful design, but its decor spoils many water pipes, then obviously something needs to be done about it. Especially if luxurious interior lined with designer tiles and fittings. Therefore, it is highly desirable to hide often unsightly communications. One of the most popular camouflage methods is the installation of a drywall box in the bathroom. What's most interesting is that you can easily do it yourself. Let's consider this moment in more detail.
Features of the box
Despite the concealment of communications, the box leaves access to free. They can be replaced or painted if desired. Often it looks like a simple structure, sheathed around the water supply. The most various materials, however, drywall for the box is considered the best option... This is due to the fact that it has all necessary characteristics: strength, durability, availability for the average consumer.
The box provides easy access to pipes at any time
External finishing can be any, at the discretion of the owners. To beat drywall sheets, it is necessary to design a rigid frame for the box. Robust construction can be both metal and wood. There is absolutely nothing complicated in this, you just need to correctly calculate the amount Supplies... For the main condition is that the box should not come into contact with communications. Since its functional necessity hardly raises doubts among beautiful owners, you should take care of its arrangement in advance.
Options for arranging the box
There are several options for making a box, depending on the material used:
Plastic panels. Their installation is carried out as follows:
- Do detailed drawing boxes (to determine the amount of material required);
- Buy Additional materials(bars, fasteners, profiles, etc.);
- Next, fix the vertical bars around the perimeter of the bathroom;
- After that, a couple of central bars are exposed in order to install plastic panels in their place;
- The latter are first cut and then joined horizontally;
- At the end, the profiles are fixed with decorative skirting board to insert the plastic structure.
Drywall. In the case of drywall, it is advisable to install a metal frame. Sheets of material are also fastened with self-tapping screws (after cutting into pre-calculated pieces). Subsequently, they can be processed with any finishing material.
If we are talking about a drywall box, you must first mount the metal frame
Box-wardrobe. To save bathroom space, you need to take care of the free space of the room. In the example of using a cabinet, this means masking several pipes at once if they are next to each other. In this case, the functional locker may contain comfortable shelves for storing various utensils. Since there are no strict requirements for the material for the manufacture of such a structure, experts recommend using the same drywall.
DIY box installation
Professionals identify two key layouts based on pipeline location. Let's consider them in more detail:
The pipe is in the corner. This option involves the use of three profiles with the subsequent fixing of drywall sheets. The order of work in this case will be as follows:
- The first step is to take measurements to determine the height and width of the structure;
- Then three pieces of the profile are cut off, according to the earlier measurements of the height;
Advice. If the decor in the bathroom boasts of expensive tiles, then the dimensions of the box are recommended to be adjusted to its size.
- Further, markings are carried out on the walls for the subsequent installation of two profiles;
- After fixing the profiles with self-tapping screws, two sheets of pre-prepared drywall are attached to them;
- After they are installed, a third profile must be fixed between them. Its role is to create a stiffener.

Diagram of the box for pipes
The pipe is in the middle of the wall. This option involves the use of four profiles and additional struts for structural rigidity. All the same drywall sheets are used as the walls. Let's consider the procedure for installing the box in more detail:
- First of all, two vertical profiles are mounted;
- Then measurements are taken between them (in such a simple way, the width of the future structure is determined);
- After that, two beautiful pieces of drywall are cut off, and attached to the above-mentioned profiles;
- You will also need to take measurements for the end side of the box, in order to then cut out the necessary piece of material from the drywall sheet;
- Then to installed panels drywall, two more vertical profiles are attached;
- The latter will need to be connected to the end wall.
In principle, this is considered the standard for installing a plumbing box. However, when branching pipes from this technology, some deviations may be required. In particular, the sequence installation works can be changed.
Box finishing
Someone prefers to paste over sheets of drywall with the usual wallpaper. Some people prefer coloring. However, the best option is considered to be cladding with reliable tiles, since it is characterized by excellent performance properties.

Tiling the box is considered the best option.
First, the amount of moisture-resistant material required is calculated, after which repair tools are purchased (spatula, grinder, drill, special glue, etc.). Ease of finishing consists in applying a uniform layer of glue to plasterboard construction and further installation on it beautiful tiles... Seams are rubbed with plastic elements. Speaking of plastic. The structure of the box can be "refined" with plastic panels. The assortment on the market allows you to find the desired color to match the interior, and physical characteristics material will also delight the owners.
Self-installation of the box is quick and easy. By following the above recommendations, the interior will be able to "save" from the congestion of the bathroom with water supply lines.
Video: Drywall pipe box
If you want to get a beautiful bathroom as a result of the renovation, then you will need to try not only with the choice of ceramic tiles and sanitary ware, but also with the preparation of the room itself. For example, you shouldn't hide too much beautiful pipes that are unlikely to fit into the design of the room. How to make a pipe box in the bathroom and what it can be made of, you will learn from this article.
Is it possible to build a box?
The structure of the box is usually quite rigid and does not imply easy dismantling for pipe repair. Therefore, before erecting a structure, it is necessary to check their condition. If you have old communications, then it is advisable to replace them with plastic. When replacing, try not to use soldering, mount solid pieces of pipes.
The fewer connections in the communications, the less chances that you will have to break the box to fix the leak. It may never be needed.
How to make a pipe box in a bathroom: 2 options
You can close the pipes with a box, building it directly around them, or close the entire wall with communications, including pipes. The first option creates a small sill if the pipes run parallel to the floor or the column if they are vertical. In addition, you can save on the material from which the box will be mounted. The second option reduces the space of the room, but this can be partially corrected by making a storage niche and niche-shelves closed with doors.


Materials for creating a box
The bathroom is a special room in your home, so the materials for mounting the box should be:
- moisture resistant;
- environmentally friendly.
To mount the box, you will need these materials to be, moreover, not too thick and not heavy. Given the parameters, you can use the following materials:
- moisture resistant plywood;
- plastic.
It is more convenient and reliable to use drywall or plastic to create a box.


The advantages of using drywall for a box in the bathroom
It is worth making a box of moisture-resistant drywall, because:
- good indicators of resistance to moisture. It has been used in such premises for many years;
- it is easy to cut;
- all construction stores sell moisture-resistant drywall - there will be no difficulties in buying it;
- on top of drywall, you can lay tiles, paint or apply any other decorative coating.
The advantages of using plastic for the box in the bathroom
Plastic panels are also a good option for mounting a box:
- quick installation that does not require a lot of tools;
- excellent moisture resistance if you coat the joints with sealant during installation;
- you immediately get an attractive surface with which it is easy to use;
- the material is not afraid of temperature changes;
- simple and quick repair or dismantling.

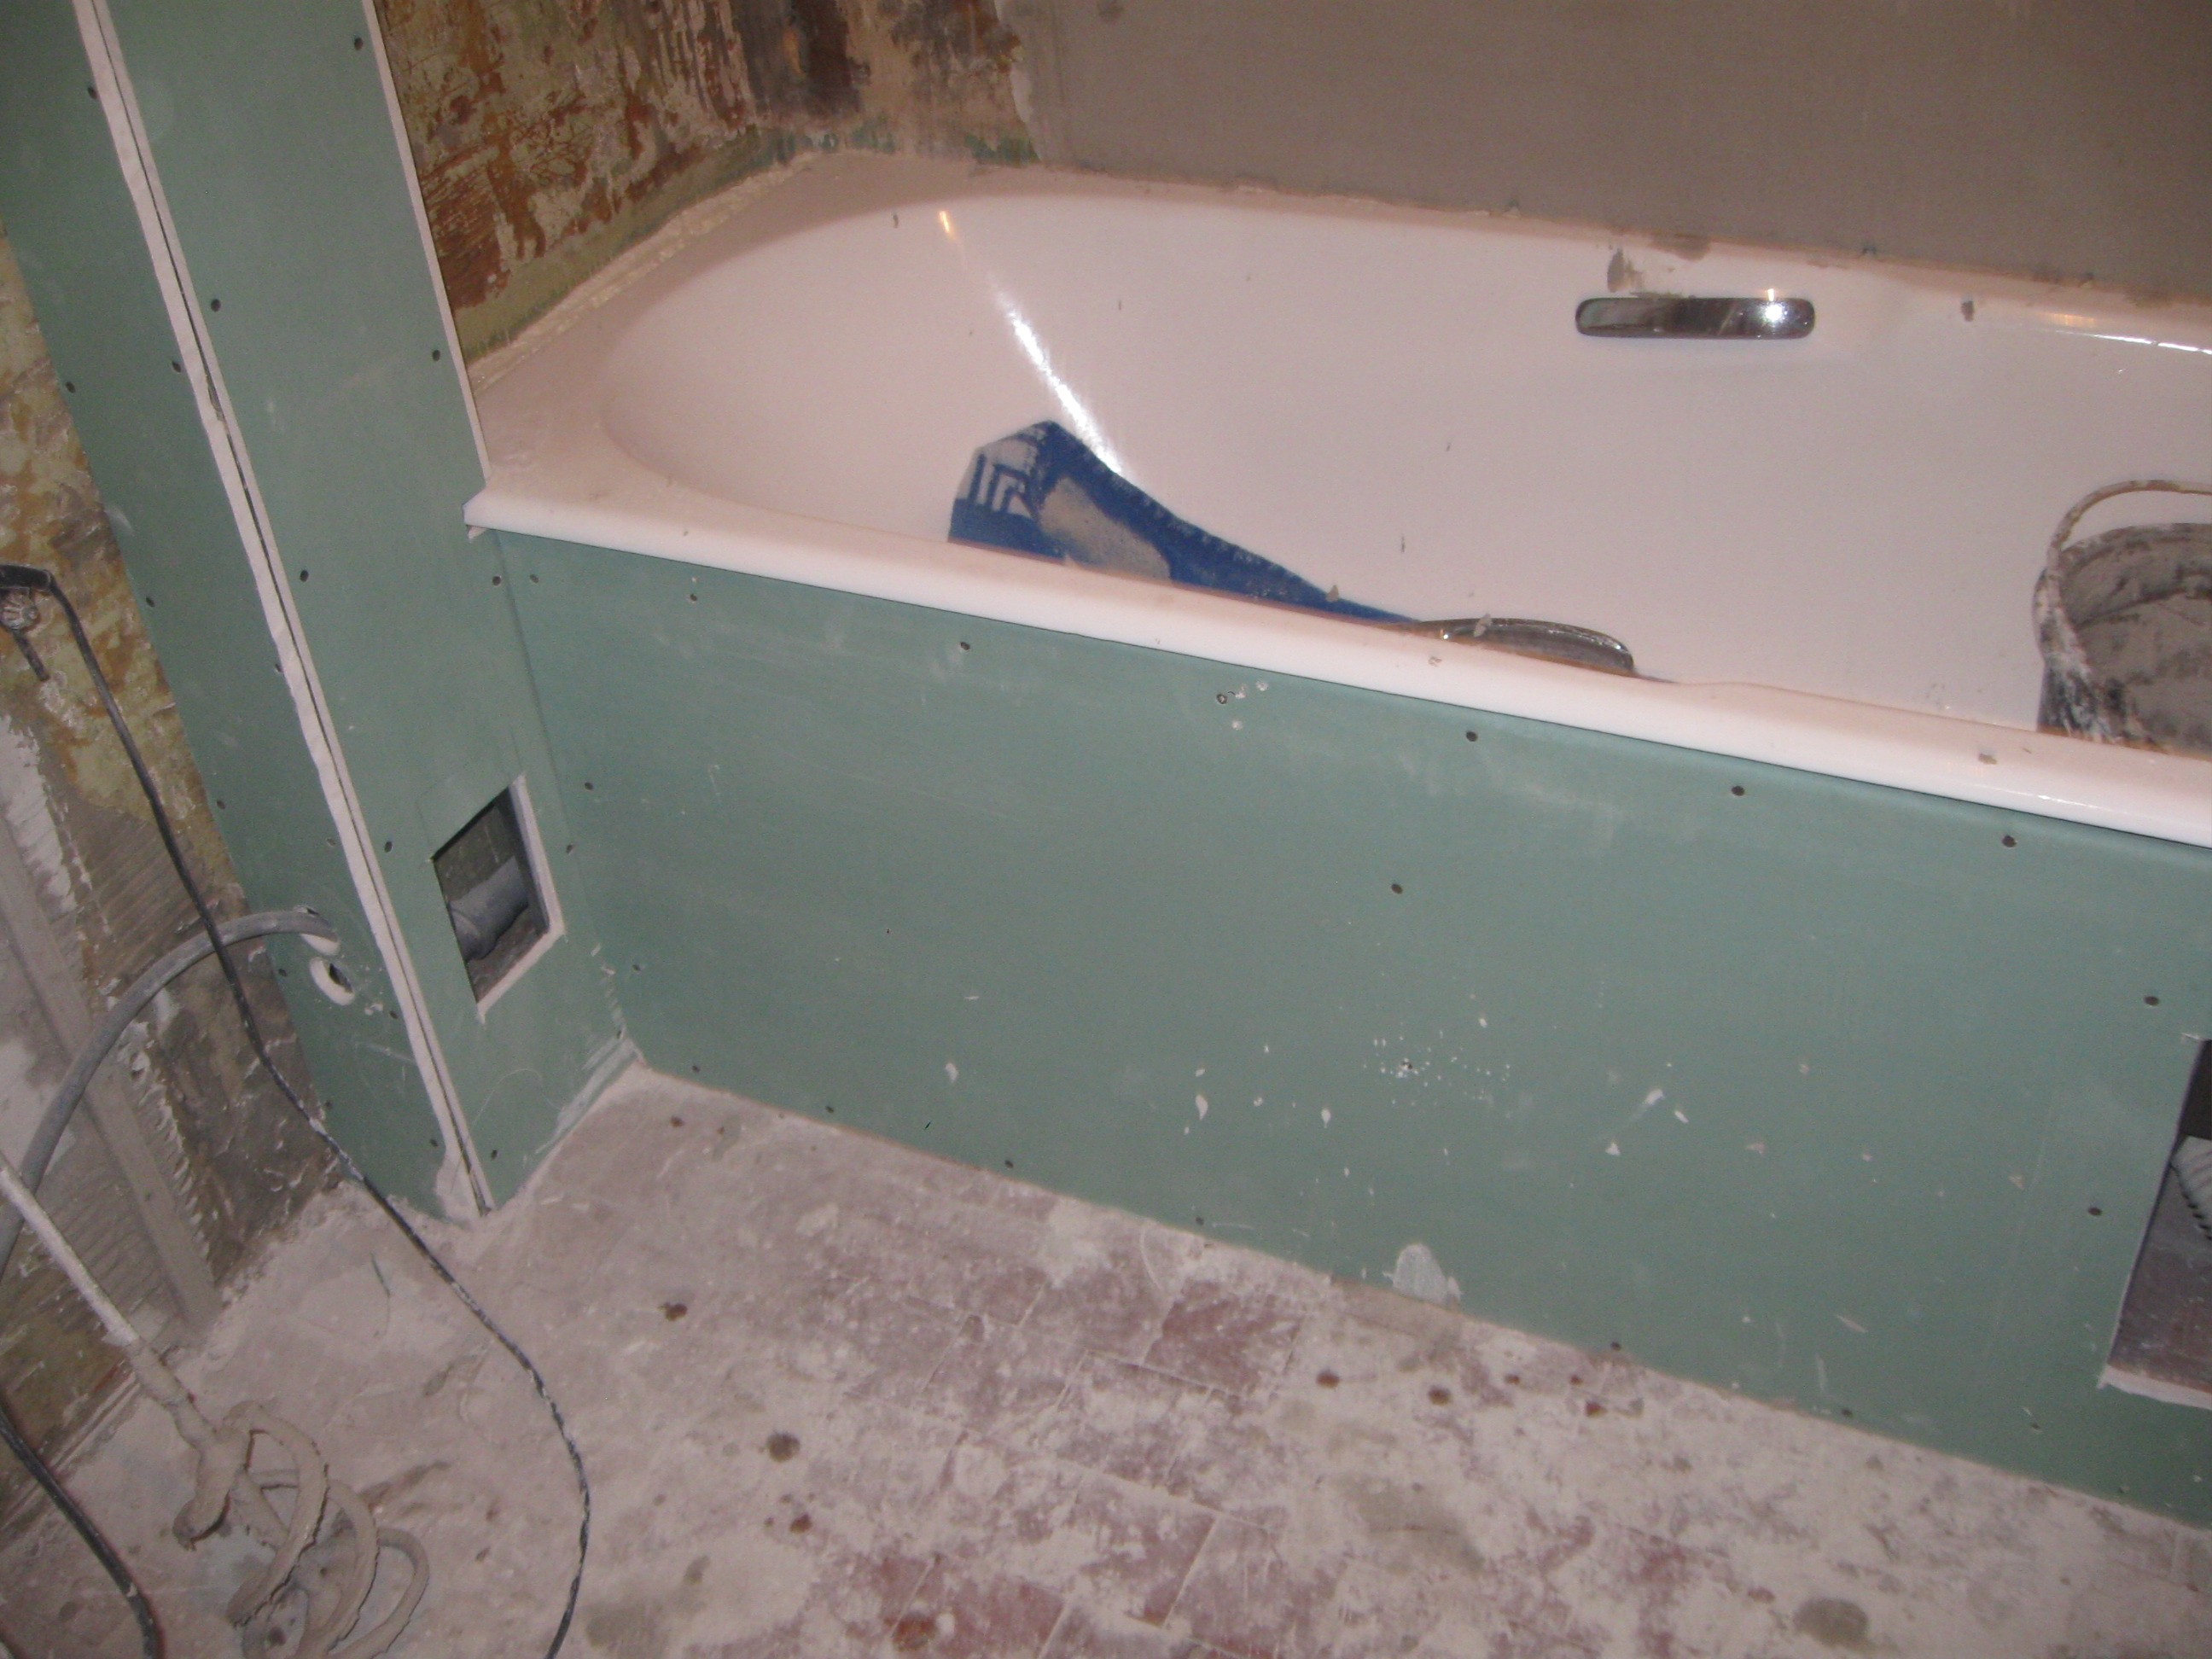
Plasterboard pipe box in the bathroom
To begin with, we will consider all the nuances of creating a duct for pipes in the bathroom, mounted from drywall. If you have ever twisted drywall with your own hands, then skim through the most important tips in this section and its last part about the collapsible design. You already know the rest.

To mount a drywall box, you will need the following tools:
- scissors for metal;
- screwdriver or screwdriver;
- self-tapping screws and possibly dowels;
- roulette;
- pencil;
- level.
You probably already have most, if not all, of what you need.

Instructions for building a drywall box
- The walls around which the pipes are located should be measured. Make up detailed plan placement of connections (places of possible leaks) for the future. Doors should be located opposite the meters and valves. If you want the box to look uniform, then make removable parts of the structure instead of doors.
- Make markings of the future structure on the walls, on the floor and on the ceiling (for vertical structures).
The distance between the pipes and the box walls is at least 2.5-3 cm!
- Using a galvanized profile, make a frame for the box according to the markings. To do this, you need self-tapping screws and a screwdriver if the walls are made of plasterboard. You can get by with a screwdriver, but the work will take longer. If the walls are brick or concrete, then use dowels and screws.
If you are installing a box for vertical pipes, then first make the guides along the walls. Then the front edge is attached using hangers or a bent edge, and only after it - the galvanized profile is mounted on the ceiling and on the floor.
In the case of installing a vertical box, non-standard designs with several edges (corners) are quite possible.
If the vertical box is more than 1.5 meters, then when installing the frame between the guides, it is necessary to make jumpers from the profile. The maximum distance between jumpers is 1 meter.
- Prepare drywall sheets for installation so that there are as few joints as possible.
- Using self-tapping screws, attach the drywall sheets in place. Do not forget to make a hole for further access to communications.
- Fill the corner or corners of the structure and the joints between the sheets.
- Decorate the box in the same way as the rest of the walls in the room, including the installation of the skirting board.
- Insert the communications access door.
At the beginning of the article, we talked about the fact that even a full-wall box can be made a useful structure. See how you can create a niche in a video:
Collapsible construction of a plasterboard box
Installation of a collapsible plasterboard structure is possible when building a pipe box in a bathroom. To do this, fix the sheets along the very edge and do not putty them. Finishing work they are not produced at the edges - they are closed with corners. Thus, when you need to disassemble the structure, you simply remove the corners and unscrew all the screws. Collect such a box after renovation works with pipes it will not be difficult - it will take at most 20 minutes.
Plastic pipe box in the bathroom
The easiest option for a box in a bathroom is to mount it from plastic panels. Even if you have ceramic tiles everywhere, this material will perfectly fit into the interior. The main thing is to choose the right color and not overdo it with the pattern. The best option will become plain plastic panels.
Tools for mounting plastic panels
For installation you will need:
- drill or screwdriver with a drill on the tile, if you have finished finishing ceramic tiles;
- self-tapping screws or dowels for the box;
- a cutter for plastic, a grinder or a jigsaw;
- roulette;
- level;
- silicone.
As you can see, there are much fewer tools than in the case of installing drywall. And if you add the tools for finishing the tiles and the time for laying it, then it becomes clear that the box made of plastic panels is ideal!

Instructions for building a box from plastic panels
Let's take a step-by-step look at how to make a box from plastic panels:
- Make markings for the box. How to do this, see above, in the instructions for drywall construction.
- Install the box from the profile. It can be made the same as for drywall, or you can abandon the front edge.
- Prepare plastic panels according to the dimensions of the structure.
- Use silicone to glue the panels to the profile.
- Glue the corner between the panels with silicone.
Options for communication access doors
It is imperative to leave for yourself the ability to access meters, pipe connections and taps. To do this, you need a door or several opposite these elements. It can be bought (sunroof, blinds, built-in door) or made. If you make a door with your own hands, then make it from the same material as the rest of the structure. It should be decorated in the same way as the box itself. To make it convenient to use it, glue or screw on a small furniture handle (these are usually installed on kitchen sets). In order to prevent the door from opening spontaneously, it must be equipped with magnets. You can make an inconspicuous door. How it is mounted is shown in the video below.
Very often, repair work in the bathroom and toilet is carried out in order to make the image of the room more attractive. The presence of communications sometimes spoils even the most fashionable and stylish renovation... Hide unsightly communications will wash a box made of drywall. A box in a bathroom made of plasterboard with and without doors can be made with your own hands. To do this, you must first study the instructions, after which you can start repair work. For the manufacture of the box, moisture-resistant drywall is best suited.
A drywall box will help not only hide communications, but also provide them reliable protection from unexpected mechanical rooms. This material allows you to make convenient design, which will provide free access to the pipes at the right time. In order for the repair work to be successful, you need to carefully prepare for them.
Correctly selected tools are the key to successful repair work. For work you will need: a hammer, tape measure, pencil, level, plumb line, knife.

First of all, the master should draw a markup that will allow him to determine the size of the frame. It is important to note that the profile must not be in contact with the pipes. Allowances should be made for patching drywall sheets.
How to make markup:
- Determine the top point of the markup, taking into account the floor drawing.
- Follow a straight line from the top mark to the very bottom.
The success of the entire construction depends on the correctness of the markup. In order to carry out the marking clearly and evenly, it is necessary to use a plumb line and a level. After execution preparatory work, you can start assembling and installing the frame.
How to make drywall boxes in the bathroom: frame installation
Before assembling the frame, you must select the material for the profile. It is best to use aluminum. This material is ideally combined with drywall, and also has anti-corrosion qualities.
Usage wooden beams when installing the frame, it will make the work silent and allow you to create additional fasteners.

It is important to use a sufficient number of beams, which is determined depending on the height of the profiles. The bars prevent deformation of the profile under the weight of the drywall sheets. Special attention it is important to devote to the process of cutting drywall sheets.
Stages of work:
- Cut out two sides.
- Install the side panels.
- Cut out the third panel.
- Place the last panel on top of the side sheets.
When securing self-tapping screws, it is important to pay attention to the fact that they need to be cut into the profile. In this case, do not touch the end sidewalls. Do not forget that you need to cut holes in the box that will provide access to communications.
Sheathing and how to make drywall boxes in the bathroom:
Elements for frame sheathing must be solid. The edges of the side pieces must match the frame profiles. The last part serves to close the side panels.
When fixing the elements, it is important to correctly measure and take into account the gaps between the screws, which should not exceed 2.5 cm.

Places for monitoring the health of the pipeline are also made of drywall sheets. Special magnets are used to secure them. The box can be made completely collapsible.
Decorative finishing options:
- Ceramic tile;
- Dye;
- Decorative plaster.
After installing the box, the bathroom will look much more attractive. At the same time, the noise level from the pipes will be significantly reduced. It is important to make sure that the box does not interfere maintenance pipes.
Technological holes: how to close pipes in the bathroom with drywall:
When forming the box, it is important to leave available meters, valves, valves, reducers and expansion joints. Holes in the material must be cut out large from the size of the doors themselves. The door is fixed after installing the frame.
In order to follow sewer, the hole must be located at the front of the box.

The door can be placed on the side if it will serve to regulate the state of valves and pipes. The holes for the pipes in the box should be made a little bigger size... The space between them is filled with foamed polyethylene or tow.
Door components:
- Frame;
- GKLV;
- Push lock;
- Sealant;
- Door.
For the manufacture of doors and the box itself, moisture-resistant drywall is used. It is processed special impregnation stable humid air... GKLV prevents the appearance of fungus and mold. After installation, the box is best tiled with ceramic tiles. Then the bathroom will look stylish, the pipes will be protected from mechanical stress, and the box will be protected from moisture. The bathroom needs a special finish that will not deteriorate from moisture and temperature changes.
We make a box in the bathroom from drywall (video)
The bathroom is filled with pipes that negatively affect appearance premises. That is why we close them with a box. It can be crafted from materials of various kinds... One of these materials is drywall. It is better if it is moisture resistant. You can make a box yourself, having previously studied the instructions and made the markup. It is important not to forget to leave the inspection doors in the box, so that there is a possibility of constant access to communications in the event of a breakdown.